How to create tables for Slack with Slacktables
This guide will walk you through the steps to get started with the Slacktables Slack app, which allows you to create tables directly in your Slack workspace. With Slacktables, you can easily organize and present data in a structured format within your Slack channels. Let's get started!
Install the Slacktables app
If you haven't done it already, install Slacktables to your workspace by clicking the button below
Once installed, invite Slacktables to the desired Slack channel where you want to create tables.
Great! Now that you have SlackTables up and running, let's explore the commands you can use to create tables and interact with them.
Commands
You only need a single command to start creating tables: /table
- Use the /table command in a channel.
- A popup window will open, allowing you to upload a csv, tsv, xls, or xlsx file.
- Choose the desired file from your device and upload it. The maximum allowed filesize is 10 Megabytes.
- After the upload is complete, click the submit button.
- Slacktables will then start rendering a preview image of the table.
- The preview image will display only the first page of the table. Please note that the preview image is not interactive until Slacktables finishes rendering all the pages.
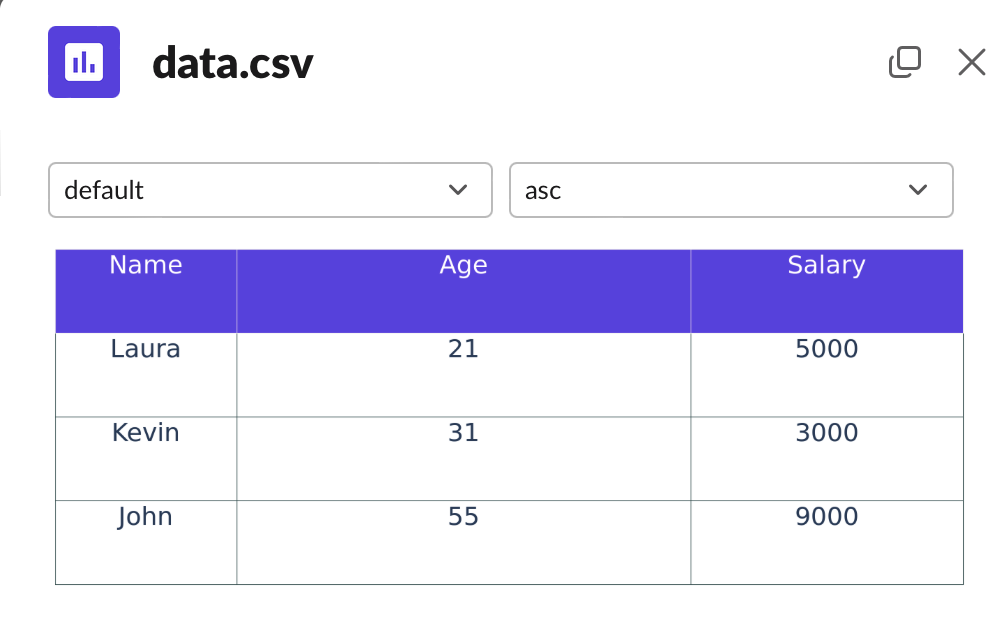
- Once the rendering process is complete, you will be able to click the "view table" option below the preview. This will open a new popup window where you can interact with the table.
Please keep in mind that the rendering process may take some time, depending on the size and complexity of the table.
Example
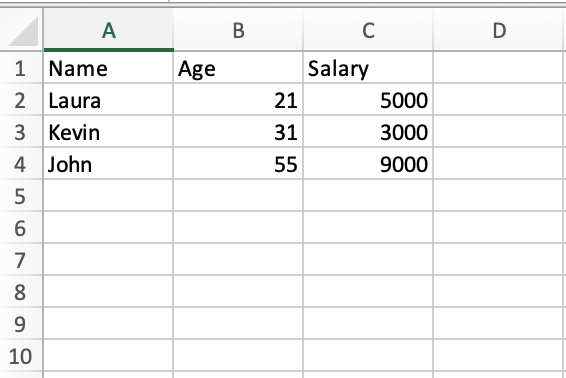
Use your favorite spreadsheet editor to create an .xls with the following content:

For more information on creating files compatible with slactables, read our blog post on creating .csv, .tsv, .xls and .xlsx files for use with Slacktables. Slacktables will render this file as follows:
